They are a great way to shred and melt collected ocean plastic made from HDPE (high-density Polyethylene – also known as Nr. 2 of the plastic recycling types), LDPE (low-density Polyethylene – Nr. 4) or PP (Polypropylene – Nr. 5). The Shredder can munch on various kilos of plastic per hour that can then be melted into new products with the Extruder.
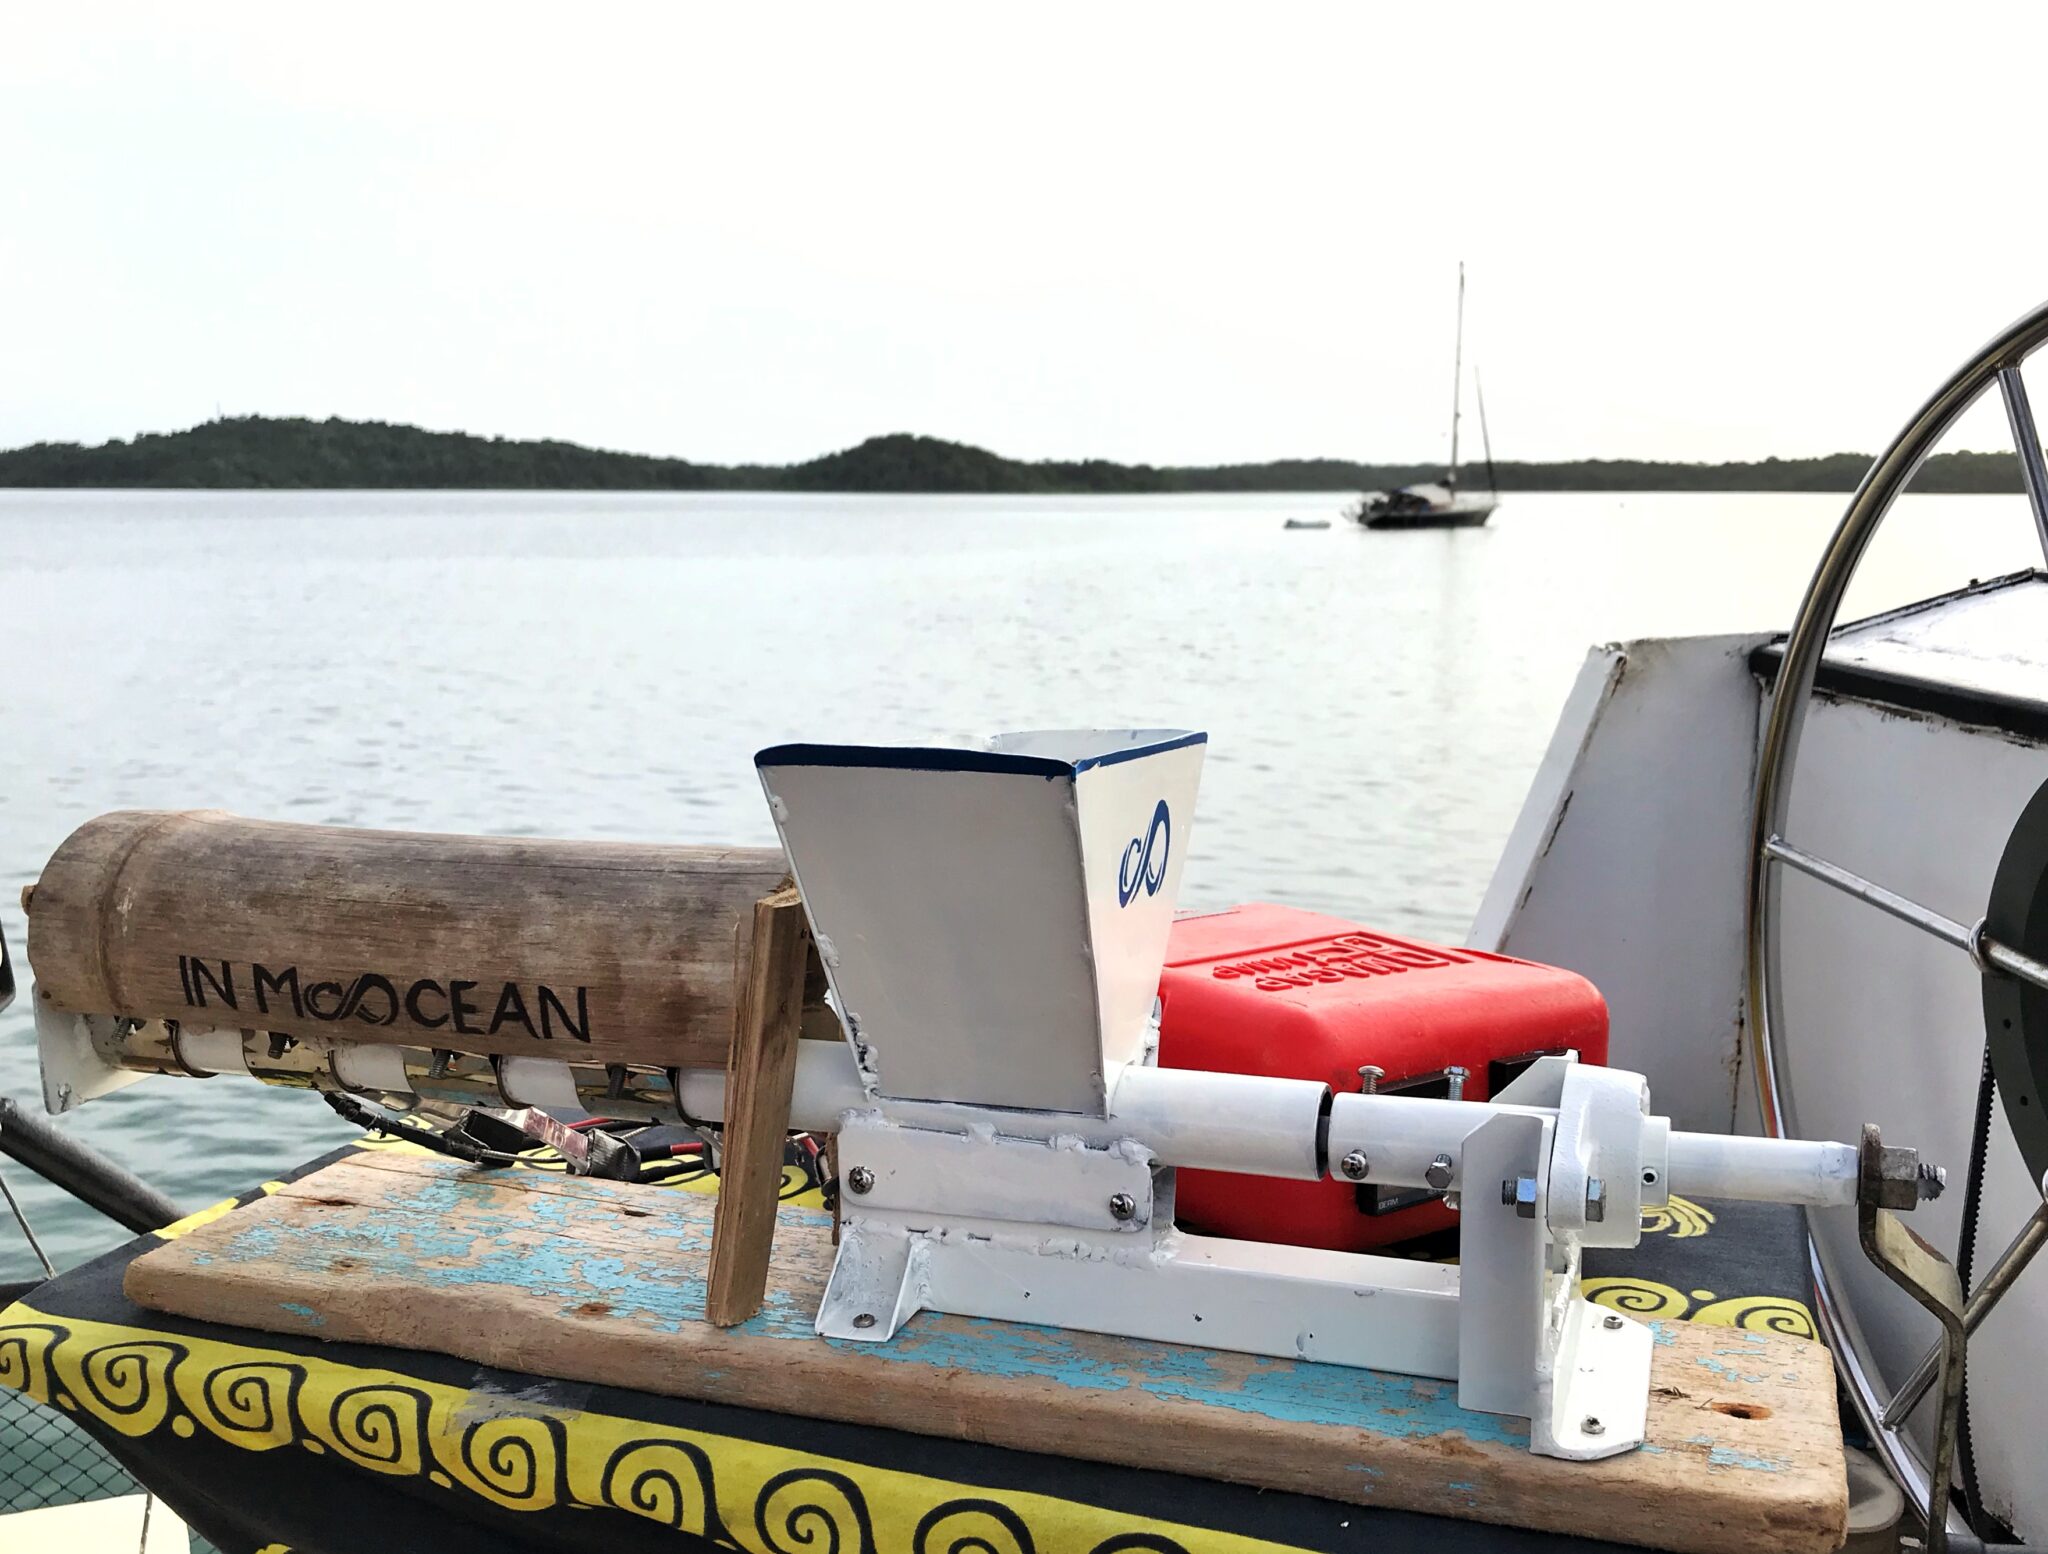
But there are two downsides to using these machines, especially for us sailors. Both machines consume a fair amount of energy and they are not very mobile. We have to run a generator or the sailboat’s engine to operate them. Also, due to their power consumption and weight, we cannot easily move them from the boat to a different place aka a beautiful shady place on the beach where we like to spend our time.

We started looking for alternative ways to recycle ocean plastic. Ways that don’t require energy and that you would be able to work with from wherever you are. And that’s how we found out that some people recycle plastic ropes that they collect on the beaches into pretty woven baskets.
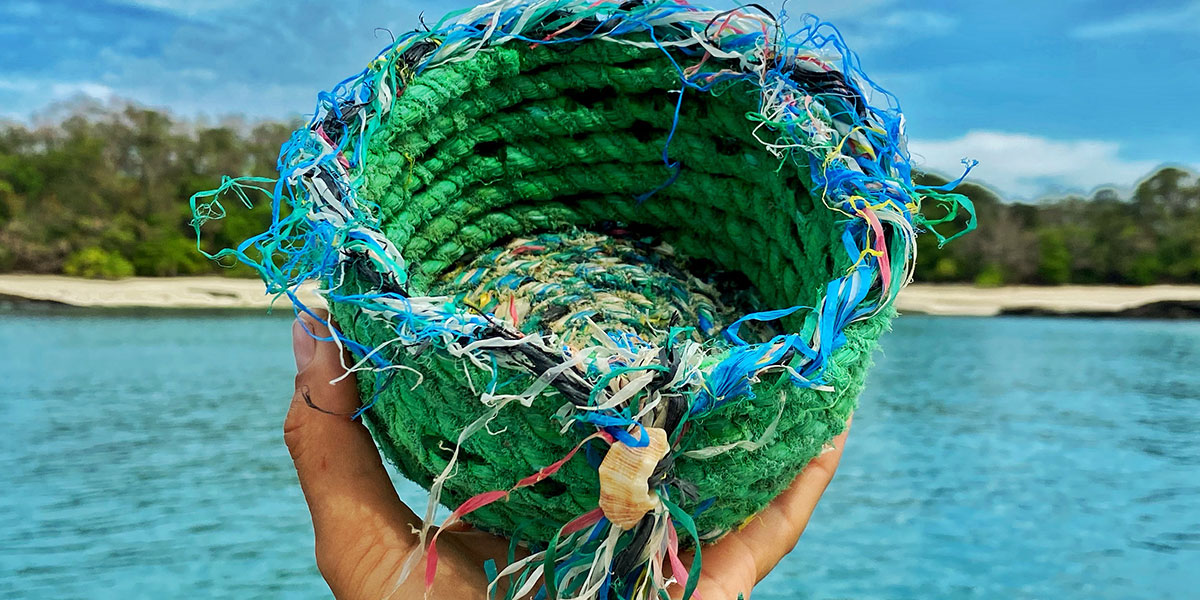
You only need a few things for the task, no mad skills are required, just a little bit of creativity. Here’s what you need to make a woven basket from recycled ocean plastic rope:
- twine (we use threads of the plastic rope as twine, that way, the whole basket can be recycled again)
- needle
- scissors
- lighter
And that’s it, you’re ready to go. Well, nearly. First you have to go and look for some plastic rope that you can recycle. Unfortunately, that’s usually not a very difficult task. Here in the Las Perlas islands of Panamá, there is an abundance of plastic ropes to be found on the beaches.
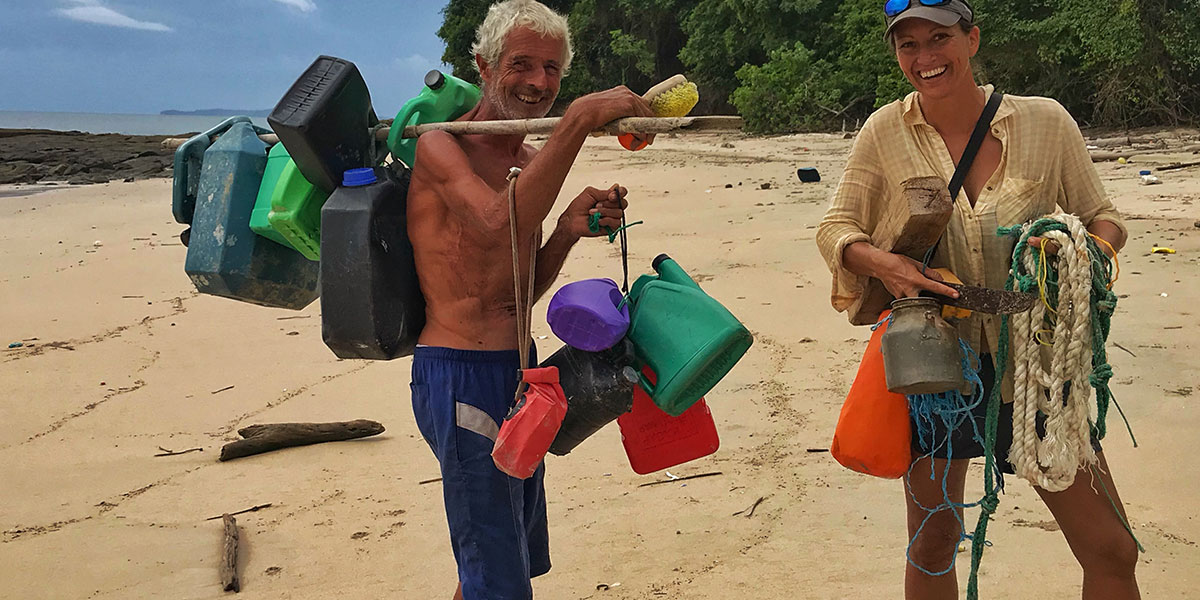
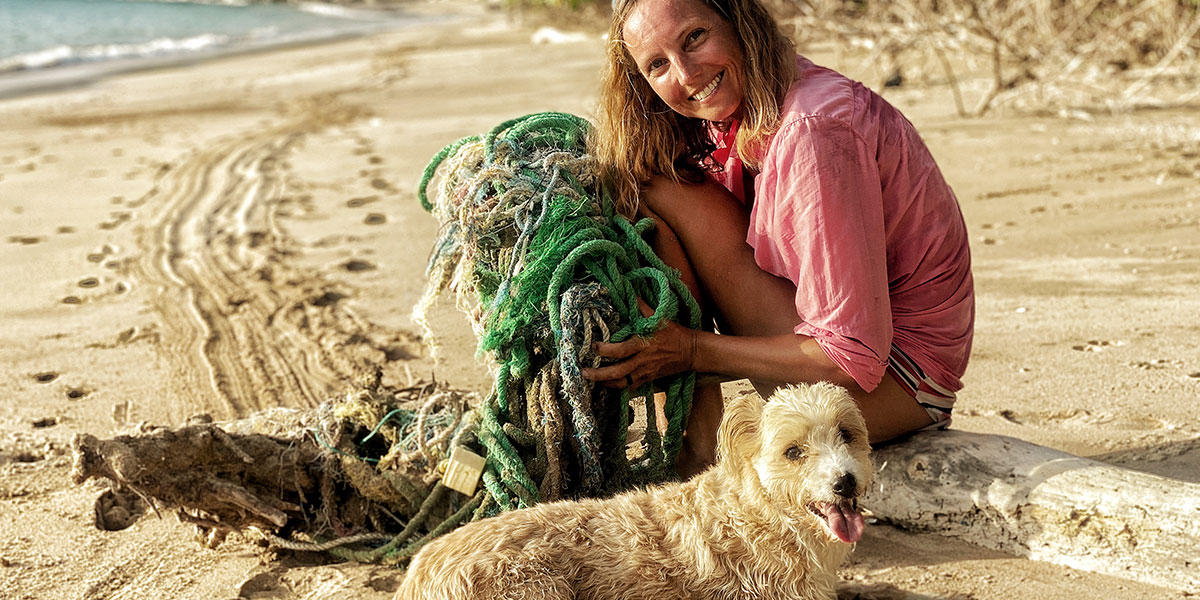
Once you collected your crafting material, the most time-consuming work starts: to untangle the rope. Often, the plastic lines have been rolling around in the ocean or on the beach for quite some time and are all wrapped around each other. It does take a good amount of patience to untangle them. It surely helps to be looking at the beautiful ocean whilst you’re doing the work.
The next step is to clean the rope. It’s usually full of sand and salt, so it’s good to give it a decent soak and maybe even use a brush if the rope is contaminated. Hang it up to dry and then the fun part pf crafting can finally begin.
You start off by weaving the bottom of the basket. Bend the beginning of the rope in a tight circle and make a few stitches through the first bend to tie it together. From this base, you will continue wrapping the line around in a circle. Depending of the size of your rope, you wrap the twine around the outer rope each five to ten millimeters, taking turns in passing the needle through the last or the second last wrap of line.
Once you have reached the desired width of the bottom part of the basket, you start moving the plastic rope upwards and depending on how you want to shape your basket either straight up or also slightly outward. You can change color of rope material or twine anytime to create beautiful patterns. As mentioned before, it’s all open to your imagination and creativity.
Over the past months, we have created various types of baskets. Big ones, smaller ones, ones with hard plastic bottoms, some with a mix of natural elements and plastic rope and we also dove into a slightly different technique where we use a soldering iron to connect the plastic rope to each other.


