It`s this time of the year again when we decorate our homes with pine tree cuts or whole trees and hang little Christmas ornaments on them. In Nike`s family, they follow the same tradition each year when it comes to Christmas decoration: they always have a real pine tree with bee wax candles, glass bowls, straw stars and little paper-mache red apples. When her and her sister were kids, there were also some more playful ornaments, all made from wood.
Each year, it`s the exact same boxes that they get out of the cellar. “The excitement is the same each year, although the ornaments never change. Once the tree is all dressed up we light the candles and gather around it. We marvel at its beauty as if we were seeing it for the very first time. No need to get something new each year – except for the tree maybe”, says Nike with a smile.
Maria`s Christmasses have been ever changing due to moving a lot and she has spent a lot of them afloat. Two years ago, she visited her mother in the Florida Keys for Christmas. It was the time, when we were just starting to experiment with turning plastic waste into new objects and we were exchaning ideas on how to make Christmas more sustainable.
At that time, we did not have any recycling machines, yet. Maria found an old oven in a thrift store and started some plastic melting experiments. She turned bottle caps into a clock face and traded some clothes for an old clockwork at the thrift shop. A great present that combines reusing and upcycling.
She also found a reusable waterbottle at the thrift store, removed the existing lettering and painted the IN MOCEAN logo on it. “I wanted to show that it`s not necessary to buy new stuff to give someone a nice present for Christmas”, states Maria.
Trashy Christmas: 20 - 30 % more waste during Christmas time
But why is it important to rethink our gift and decoration habits during Christmas Time? According to the Environmental Protection Agency, American household waste increases by more than 25% between Thanks Giving and Christmas. This is an additional 1 million tons a week – and this is just America. The European commission states that the waste generated over Christmas is estimated to be 30% more than the average. These numbers are quite dreadful, especially considering the already high amount of waste that is produced throughout the rest of the year.
A couple of suggestions for a less trashy Christmas
There are many ways to cut down on the amount of trash that is produced during this merry time. It does not mean that you should not decorate or make gifts. But there are some ways to decorate and make presents in a more sustainable way.
Wrapping presents
- Re-use last year`s wrapping paper.
- Use an old newspaper for wrapping gifts. You can use some pine branches or herbs to spice up the wrapping.
- Use a fabric to wrap the presents and tell the person that you are giving your present to that they can re-use it for their next gift.
Give & Shop environmentally consciously
- Try to avoid presents that come with unnecessary packaging.
- Pass on things that you no longer need but that are still in great shape.
- Buy second hand presents.
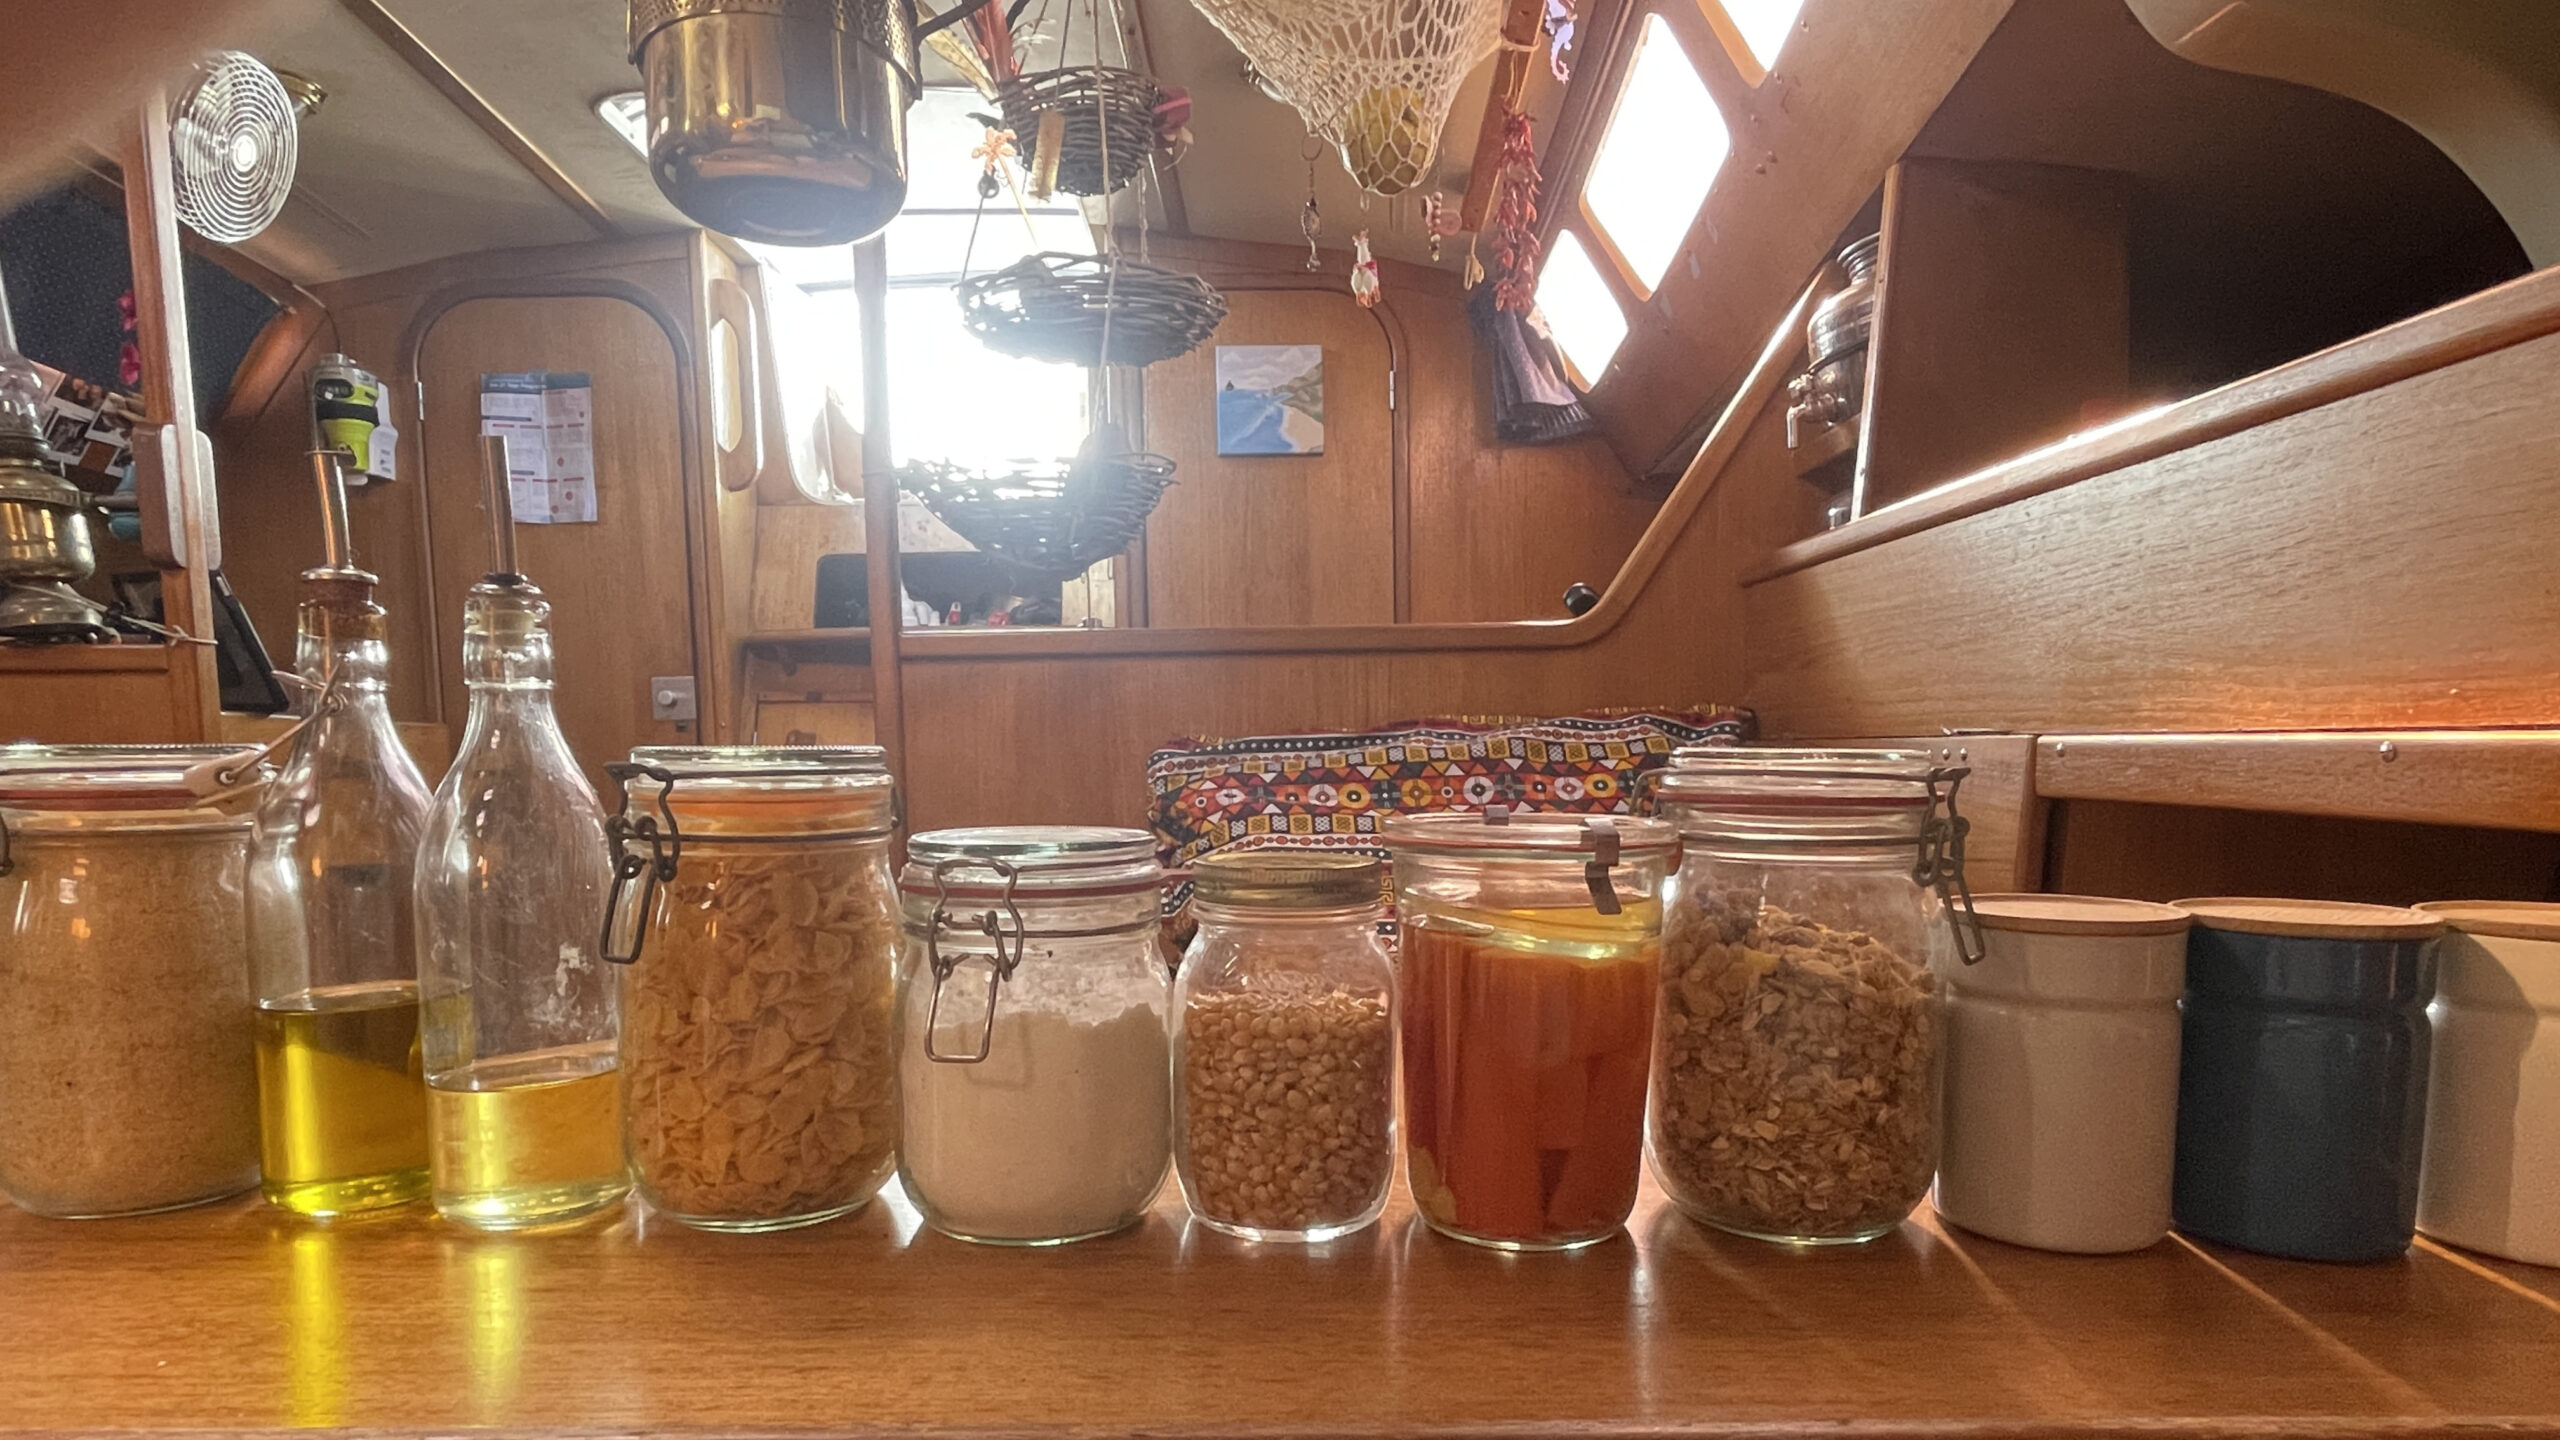
- Make your own presents. Presents don`t always have to be expensive or the latest technological gadget. How about taking some time to make some home-made granola for your friends, to make re-usable make-up removing pads from an old towel or to make a yummy chutney from left over pumpkin. The internet is full of great idea for sustainable DIY gifts, go have a look.
- Gift time and shared experience. Not only is this a very environmentally friendly option, it also creates shared moments and memories and is a great booster for your friendships and quality family time.
Decoration
- Buy second hand decoration.
- Swap your decorations with friends for some change.
- Make your own decorations from natural or recycled materials. Doing this together with friends and family will make it even more fun.
Upcycle bottle caps into cute Christams Ornaments
These ideas above are just a couple of recommendations for a less trashy Christmas time. There are tons more out there. Let us know about your ideas in the comments.
We want to share with you today, how to make Christmas ornaments that upcycle some of your trash instead of producing more. Sounds exciting? Well, let`s take a look!
Let`s get started
Bottle caps are a type of household trash that most often does not get recycled industrially. They usually end up in landfills or in energy recovery plants. Most bottle caps are made from High Density Polyethylene (HDPE, recycling category number 2) or from Polypropylene (PP, recycling category number 5). These are both great types for manual recycling because they can be melted easily and reshaped into new things.
You can also use any other number 2 or 5 plastic to make these ornaments. We decided to use bottle caps, because you don`t have to cut them down first, nor do you have to remove any labels or stickers. Just make sure you don`t mix the two plastic categories. You should stick to either HDPE or PP for each batch that you are making. This is important because they have different melting temperatures. But also, because your product will stay recyclable if you stay within the same category of plastic.
A list of tools that you will need
- Bottle caps (either number 2 or number 5)
- A panini press with a flat surface
- Silicone gloves
- Baking paper
- Eye protection
- Respiration mask
- a fretsaw (manual or electrical)
- sharp knife or razor blade
- cookie cutters or paper stencils
- pen to draw on the plastic
- some pieces of string (preferably re-using old ones)
- drill with 3 or 4mm drill bit
Step 1: Sort and wash your bottle caps
First you need to sort your bottle caps to make sure they are all the same kind of plastic. You can use either a batch of HDPE or PP bottle caps. You can usually find the recycling category on the inside of the bottle cap: number 2 for HDPE and number 5 for PP. If they are not labeled, you can also identify them by squeezing them a bit. You will notice that HDPE caps are a bit more flexible and PP are a bit more rigid. Caps from milk jugs are usually made from HDPE whereas some caps for soda bottle are sometimes PP. If in doubt, through it out! Otherwise, you risk to contaminate your batch.
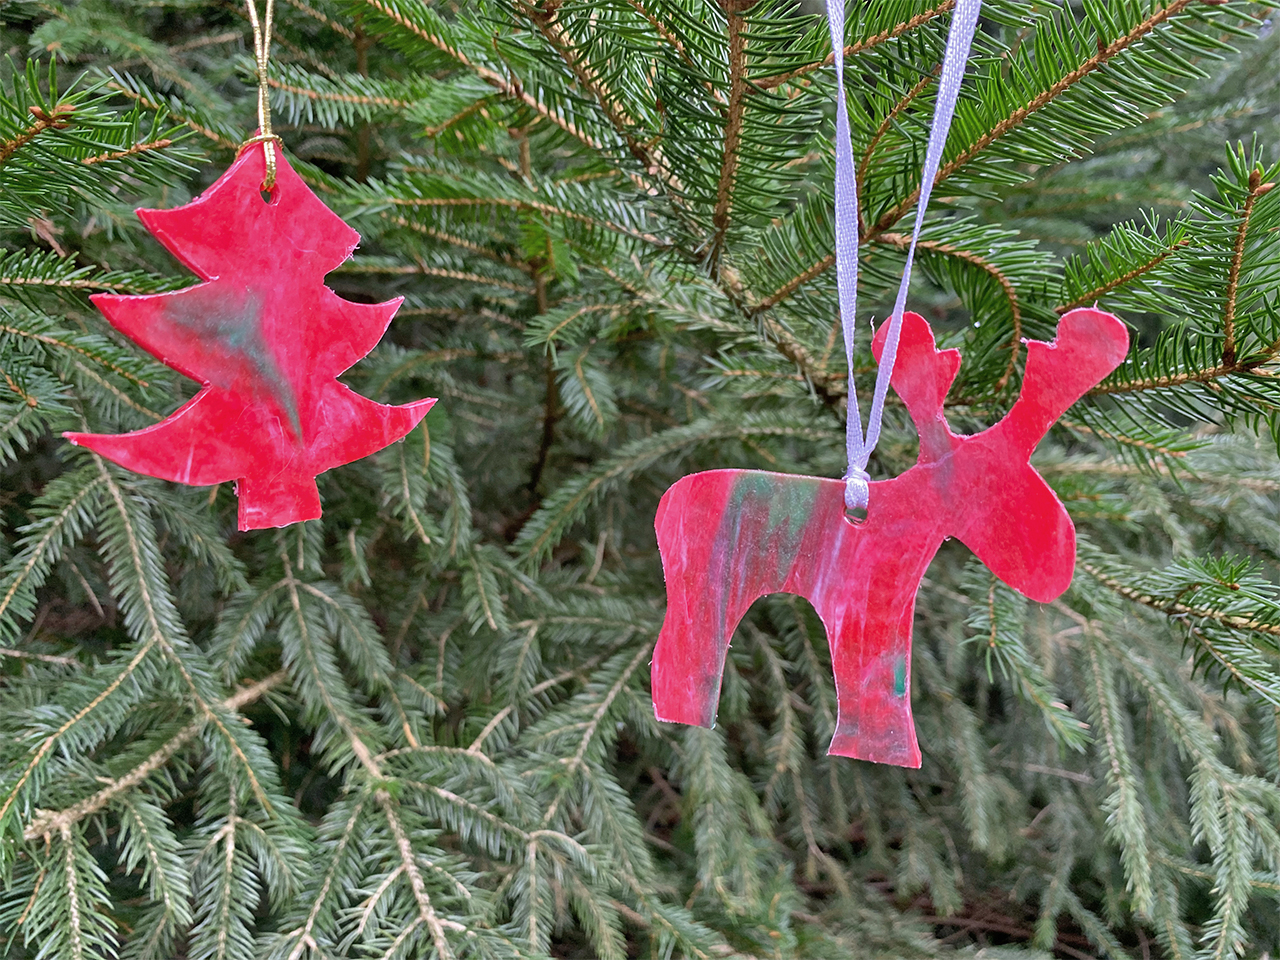
Also, think about what colors you want your ornaments to be. We chose red and white as base colors and added some green highlights to give the ornaments a Christmassy touch. But of course, it`s totally up to you what color you like your ornaments to be – and up to what colors you may have available.
Once sorted, you need to wash the caps that you want to use. You can either soak them in a sink and clean them manually with a brush. If you plan to recycle quite a lot of caps, it will be more efficient to put them into a clothes bag and throw them into the washing machine, choosing a short washing cycle. Let them dry completely and you are ready for the next step.
Step 2: Place a first layer of bottle caps on the panini press
Plug in your panini press and let it heat up. Make sure you are using one with a flat surface in order to get a flat plastic sheet for your ornaments. Once the panini press is hot, place a baking sheet on the press. We usually work with Teflon baking sheets because you can reuse them more often and they don`t tear apart.
Now place your bottle caps on the panini press. It does not matter which way round you place them, they will melt just the same. Now cover the bottle caps with a second baking sheet and close the panini press.
It helps the melting process, if you place something heavy on top of the panini press. This can be some bricks or heavy books, whatever you may have available.
Step 3: Add a second or third layer of bottle caps on the panini press
Once your bottle caps are melted, you can add one or two more layers on top of it in the same way you did in Step 2. This depends a bit on how thick you want your ornaments to be. We went for 3 to 4mm thickness for the plastic sheet. You will need to melt 2 to 4 layers of bottle caps for that, depending a bit on the size of your caps.
Step 4: Create a beautiful batik design for your plastic sheet
Now you should have a layer of melted bottle caps. You can either use the sheet right away or you can create a pretty batik design. To create that, put on some silicone gloves, roll the warm plastic into a sausage and then twist it around. This step is totally up to your own creativity. You can pull the warm plastic to stretch it, then fold it together and twist it again until you reach your desired design.
If the plastic hardens in the process, you can always re-heat it in the press to make it moldable again.
Step 5: Make a flat plastic sheet
At the end of Step 4, you have a lump of plastic that now needs to be melted again in order to make a flat sheet from it. Place it inside the panini press and heat it up. Once the plastic starts to get soft, you can start applying pressure to the panini press again. We found that it helps to sit on top of it (careful not to burn yourself) and wiggle around a bit to make sure the plastic stretches out far enough.
You can also remove the plastic from the press and use a rolling pin, but we found that sitting on top of the press works much better because you are not removing the plastic from the heat source.
Open the press every now and then to check if you have reached the desired thickness of the sheet. Once it`s to your liking, switch off the press and let the sheet cool down. Make sure to leave something heavy on top of the press, otherwise your plastic will deform in the cooling process.
Step 6: Draw your ornaments onto the plastic sheet
Once your sheet has cooled down, it`s time to get creative. Grab a pen that writes on plastic and draw your ornaments on the plastic sheet. We used cookie cutters for some of them but we also made some stencils from paper.
When choosing your design, try to think about the sawing process: the more difficult or filigree your design is, the harder it will be to cut it out. Maybe start with something simple and then work your way towards more complicated designs.
Step 7: Cut out the ornaments from the plastic sheet
Now it`s time to cut. For this step, you need a fretsaw. This can be a manual one or an electrical one, both work. We used an electrical one because it makes the process a little easier. But it`s also possible with a manual one, you just need a bit more patience.
Move the saw along the lines that you drew on the plastic sheet and voilà: you have your Christmas Ornament.
Step 8: Remove residual plastic from the edges
Use a sharp knife or razor blade to clean the edges of your ornament. We found that this works better than using sanding paper and it also produces less micro plastic.
Remember: You don`t want to create additional pollution with your crafting, so make sure you always collect all the little plastic pieces that get cut off during your creative process. The great thing: you can throw them back on the panini press for your next batch!
Step 9: Drill a hole and add a string
You are nearly ready now. Just drill a small hole into the top of your ornament so you can add a string. The size of the hole depends on the thickness of your string.
We re-used strings that we had collected over the past years. That way, your Christmas ornaments are 100% upcycled and zero new materials were needed to create them.
That`s it, your ornaments are ready. Well done and congratulations to help cut down on the trash that is produced during Christmas time.
Step 10: Gift the ornament to a friend and share the message about recycling
This step is optional, of course. By gifting your cute upcycled ornaments to friends or family, you can help to spread the important message that it`s not necessary to buy new things to decorate for Christmas. By making ornaments from bottle caps, you make great use of a precious material that would otherwise be burnt or end up in a land fill. And you create a hand made ornament that was crafted with love and care for our planet.
Merry Christmas,
Maria & Nike

2 Responses
Hey it’s Brian Murphy leaving you,Maria and anyone else who reads this a Merry Christmas and a Happy New Year!! ❤❤
I think this articles I going to inspire some Christmas workshop activities this year. Just got to round those elves up first. Wishing everyone at Inmocean a great Christmas recycle.